Create a Static Blog With Hugo and Cloudflare Pages
Launch your new blog in minutes.
There’s been a huge rise in personal blogs in the last couple of years, especially in the software development space. A few reasons for that is that people are prefering to have ownership over their work, but on top of that, it’s really never been easier to get up and running with building and deploying a static site.
How it’s done.
We need a few things to get going, make sure you’ve all the below sorted before starting.
- Go
- Git
- Hugo
- GitHub/GitLab account
- Cloudflare account
Let’s start by creating our directory on your local machine, set up our modules and add a config file.
mkdir demo-blog
cd demo-blog
hugo mod init github.com/RyanTalbot/demo-blog
hugo mod get github.com/lxndrblz/anatole
touch config.toml
What goes into this config file will be dependent on your chosen theme so read the relevent wiki, in our case you can use mine as an example which can be found here.
Believe it or not, it’s that simple to get up and running. You can see our site builds by running:
hugo server -D
Let’s get our work so far pushed up to GitHub. I created a repo on GitHub with the same name as our site, then ran:
git init
git remote add origin [email protected]:RyanTalbot/demo-blog.git
git branch -M main

git add .
git commit -m "Initial commit"

git push -u origin main
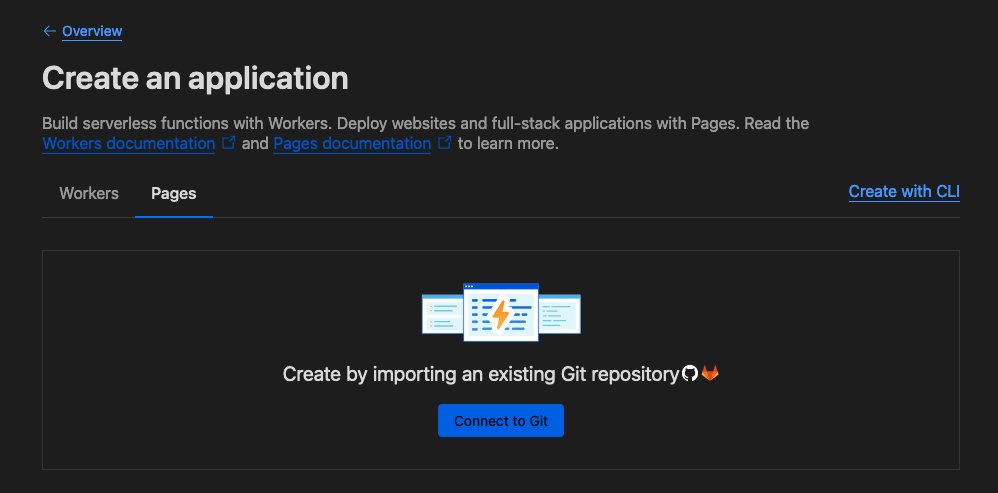
Next we’ll jump straight to Cloudflare to make sure everything builds as expected, then we’ll return to add posts to our site. On the Cloudflare dashboard navigate through Workers & Pages > Create Application > Pages > Connect to Git - You should see this page:
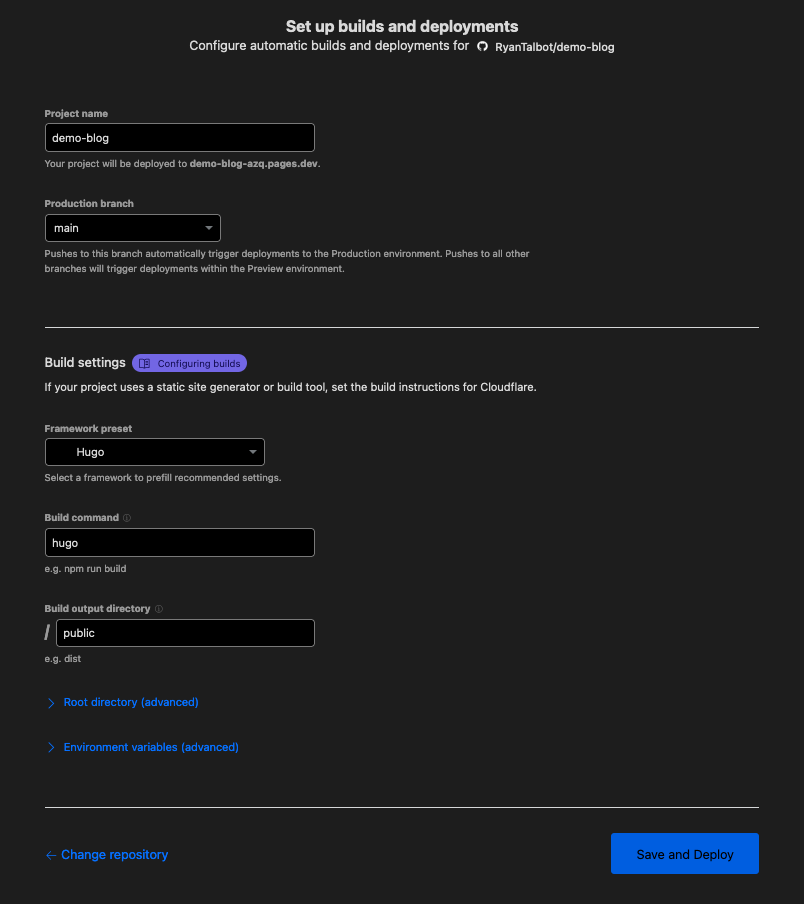
Add your repo and select Begin setup. Then basically all settings remain default except for framework, select hugo. This is how our project will be built on deployment. Hit Save and Deploy.
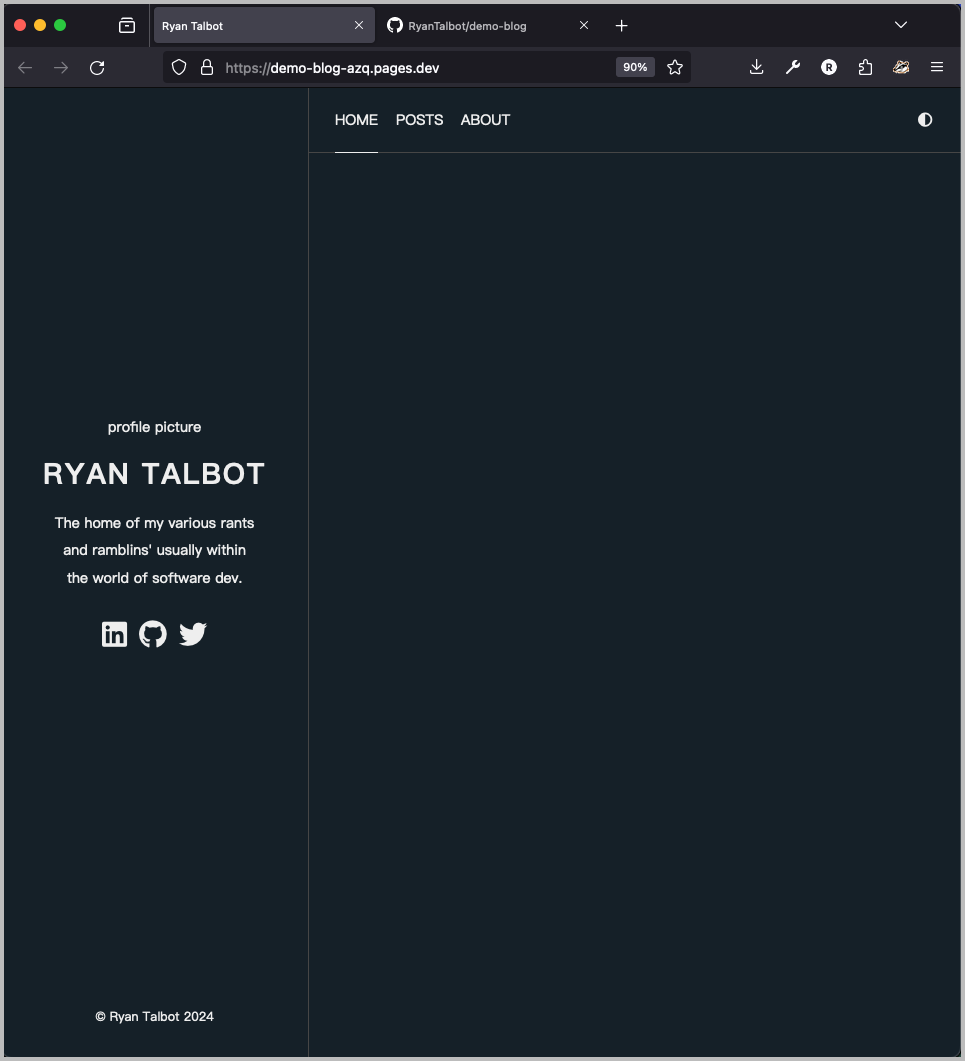
Let Cloudflare do its thing and when the build is successful, your site will be live with a unique domain. This of course can be changed to a custom domain you own at any time.
From here on out, every time you push to your repo, the build will trigger on Cloudflare and your changes will go live shortly after. Let’s add a post so you can see this in action.
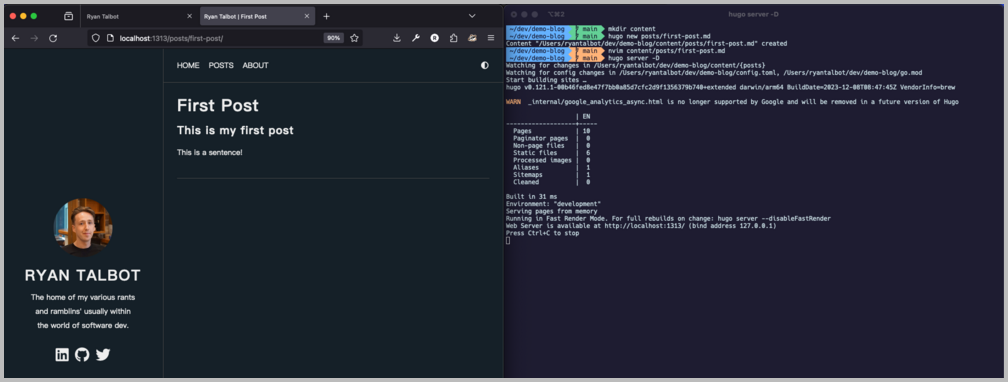
To add a new post we’ll do the following:
mkdir content
hugo new posts/first-post.md
Open up your new post markdown file in your favorite text editor and add any changes you’d like. When you’re satisified with your post, be sure to switch draft to false.
Test out your deployment and see your work go live by pushing your changes. If all is well, you should see the post has gone live. Try opening the link on mobile also.
Wrapping up & pointers
That’s really all that’s needed to get you going, from here on out you can add a good chunk of functionality you wish dependent on the theme you chose.
If you want to add images to your site, create a folder in the root directory called static, within that, you can then create directories for each of your posts and add your images there. In our case we’d have static/posts/demo-blog/image.png. To add it to your post, add .
The same goes for favicons and the profile image I use, static/favicons, and static/images.
For the theme, I used Anatole but a complete list of Hugo themes can be found here, and the repo of this demo can be found on GitHub.